Our TouchDesigner Beginner Program is developed for curious minds looking to build a comprehensive understanding of this visual programming software. Each module is structured around creating small, playful interactive example programs, which will enable you to explore the full range of TouchDesigner’s capabilities.
The full week-by-week breakdown for TouchDesigner Beginner Class — what each lesson covers, what you’ll learn, and that week’s short overview clip.
Week 1 — Getting Around TouchDesigner & Building Your First UI
Week 1 covers two things in one sitting: first, getting fluent in TouchDesigner’s node-based way of working — the habits everything else in this course assumes you already have — then immediately putting those habits to work on a proper build from a blank file.
The first part is a hands-on primer on moving around and thinking in the network: panning, zooming, and finding your way back when you get lost; opening the operator create dialog and meeting the different operator families for the first time; making your first connection from an on-screen control to a parameter, two different ways; and understanding the timeline and cook rate that everything else runs on, including how copying and pasting operators affects the connections you just built, with your first real look at compositing two textures together.
The second part builds your first interactive UI from scratch: sliders and buttons, organized cleanly inside containers, wired up to a first real animated composition, and packaged into something reusable — plus previewing your work live inside your own control panel and keeping the growing network readable with labeled, color-coded annotations.
What you’ll learn:
Navigating TouchDesigner:
- Navigate TouchDesigner’s Network Editor confidently: pan, zoom, home lost operators back into view, and move between levels
- Open the operator create dialog and recognize the core operator families (TOPs, CHOPs, SOPs, DATs, COMPs, MATs) by what each one actually does
- Make your first connection from a UI element to a parameter, and get comfortable inserting, connecting, and rewiring operators
- Understand the timeline and cook rate, and get a second way to connect a value to a parameter that behaves differently under copy-paste
- Learn how copying and pasting operators affects the connections you just built, and get your first real look at compositing two textures together
Building your first interactive UI:
- Place sliders and buttons inside containers, and organize a group of them at once with alignment tools instead of positioning each one by hand
- Save your finished interface as a reusable component you can drop into any future project
- Drive a first animated composition — shapes, gradients, and compositing — directly from your own sliders and buttons
- Get a value from a UI element into a parameter two different ways, and understand when each one is the better choice
- Preview any part of your composition live inside your own control panel, and smooth out an abrupt button press into a gradual transition
- Keep a growing network readable with labeled, color-coded annotations — a habit worth building from week one
Week 2 — Organizing Your Network & Custom Parameters
Week 1 got your first buttons and sliders on screen; Week 2 is about turning that into something you can actually navigate and keep building on as it grows. You’ll learn to tidy up a spreading network by collapsing groups of operators into a single reusable component, then use that same component to build your own custom, named controls — instead of digging through nested operators every time you need to change a value.
What you’ll learn:
- Collapse groups of operators into a single component to keep a growing network tidy and readable
- Add a custom parameter page and choose exactly which values you want exposed and controllable
- Bind parameters together so a change in one updates the other automatically, in both directions
- Open a second output window to show your visuals full-screen on a second monitor or projector
- Build a simple on-screen readout to monitor your own system’s performance while you work
Week 3 — Feedback Loops & Generative Color
This week introduces one of TouchDesigner’s signature techniques: the feedback loop. It’s a deceptively small pattern — an operator, something that overwrites it, and a wire closing the loop back on itself — but it’s the foundation behind trails, glows, particle-like drawing, and a huge share of the generative visuals people associate with TouchDesigner. You’ll build one from scratch driven by your own mouse movement, then spend the rest of the week exploring what becomes possible once it’s running: coloring it directly, recoloring it through a lookup palette, and distorting it into a soft, smoke-like effect.
What you’ll learn:
- Build a feedback loop from scratch and understand exactly what closes it and keeps it running
- Drive a moving shape from mouse interaction and remap that motion onto a usable range
- Trigger and reset a running feedback loop from the keyboard
- Color a feedback loop three different ways: a flat fill, an animated hue shift, and per-pixel random color
- Reassign a texture’s grayscale values to any color palette you like, and distort a loop into a smoke-like effect
- Package a loop in its own container and build variations side by side — blurred inside the loop, or quantized into hard bands with outlined edges
Week 4 — Your First 3D Scene
This is where 2D compositing gets left behind and your first real 3D scene comes together. TouchDesigner’s 3D tools follow the same node-based logic you already know, but there’s a whole new set of building blocks to meet: geometry, cameras, lights, and materials. It’s the biggest lesson in the course, deliberately so — really two lessons in one: a complete rendering setup first, followed by a broad tour of the geometry-generating and -deforming operators you’ll keep reaching for in every 3D project from here on.
What you’ll learn:
- Set up a complete 3D scene from scratch: geometry, camera, light, and a render output
- Assign materials, including realistic lighting, transparency, and both hard and soft shadows
- Build a parent/child hierarchy between 3D objects, and drive a camera along its own path
- Keep a growing 3D network organized with labels and your own custom parameters
- Tour a wide range of geometry operators — from a single point to text, metaballs, booleans, and revolved surfaces
Week 5.1 — Soundreactive Particles
Particles are one of TouchDesigner’s most flexible building blocks: thousands of points, each with its own position, lifespan, and behavior, generated and simulated all at once. This lesson covers the whole foundation — how particles are born, how they’re rendered, and how to leave a trail behind them — then drives it with music. You’ll bring in TouchDesigner’s built-in audio analysis tools, extract usable control signals from a track’s frequency bands and kick detection, and use them to drive particle birth, a ring of concentric rotating shapes, and a reactive glow that pulses right on the beat.
What you’ll learn:
- Generate particles from any shape and control their initial drag direction
- Understand a particle system’s birth rate, life expectancy, and basic housekeeping
- Render particles properly and leave glowing trails behind them with a feedback loop
- Analyze an audio file’s frequency bands and rhythm with TouchDesigner’s built-in tools
- Calibrate a raw, messy audio signal into a clean, usable control range
- Drive particle birth and other visual elements directly from specific frequency bands
- Add a reactive glow effect triggered by kick-drum detection
Week 5.2 — Interactive Particles
With the particle foundation from 5.1 in place, this lesson puts it to work building a particle system that responds live to your mouse, complete with attracting and repelling forces and realistic bounce-off collisions.
What you’ll learn:
- Build a mouse-interactive particle field with attracting and repelling forces
- Give particles something solid to bounce off, with realistic collision behavior
Week 6 — Data-to-Form & Simple Instancing
Every operator family in TouchDesigner produces data, and this week is about moving that data freely between families to get the best feature of each one — a texture’s pixels becoming a channel’s values, a channel’s values becoming a shape’s point positions, and so on. Once you can do that fluently, the door opens to this lesson’s main event: GPU instancing, which renders thousands of copies of a shape — each with its own position, scale, rotation, and color — at a speed traditional geometry tools simply can’t match.
What you’ll learn:
- Convert data freely between textures, channels, and geometry
- Drive a shape or a texture directly from live audio
- Build your first GPU instancing setup, controlling thousands of copies from textures and channels
- Set up a complete instancing render scene: camera, lights, shadows, and ambient occlusion
- Understand why higher-precision textures matter once your data needs to exceed a normal 0-1 range
Week 7 — Audio-Reactive Instancing
Week 7 combines two techniques you already know — instancing and feedback loops — with a third: real-time audio analysis. You’ll convert an audio spectrum into a texture, trail it through time, and use the result to drive the scale and color of hundreds of instanced shapes at once. By the end of the week you’ll understand the core idea that makes audio-reactive visuals feel intentional rather than random: one input can drive several attributes at the same time, and that’s what makes an effect read as deliberate instead of just flickering.
What you’ll learn:
- Convert a live or recorded audio signal into a texture your visuals can respond to
- Trail that signal through time and use it to drive both scale and color together
- Build a complete 3D render scene a second time, reinforcing everything from Week 4
- Isolate individual frequency bands and use them to control opacity and other attributes
- Mix multiple independently-driven compositions together into one final result
- Swap your instanced geometry between different shapes without breaking anything
Week 8 — Point Cloud & 3D Scanning
Week 8 pushes instancing to its logical extreme: what if position itself came from a texture, not a 3D operator at all? You’ll build a grid of points using nothing but simple image operators, drive it with photographs and animated noise, then import a real 3D scan as a point cloud and learn to mask, deform, and feed it through a feedback loop — all while staying entirely on the GPU, which means none of the frame-rate penalty traditional geometry pays for large point counts.
What you’ll learn:
- Build point positions purely from textures, with no traditional geometry operator involved
- Drive instanced shapes’ position, scale, and color from images, noise, and live audio
- Import a real 3D scan as a point cloud, and mask or select regions of it
- Deform selected points and feed the result through a feedback loop for continuous motion
- Convert an imported 3D mesh into the same texture-driven point cloud technique
- Understand why this approach scales to millions of points without the usual performance cost
Week 9 — Introduction to POPs
Week 9 introduces an entirely new operator family built specifically to solve the performance ceiling from previous weeks: POPs, which combine the best of geometry and channel operators while being entirely computed on the GPU. Where a traditional deformation could drop your frame rate at a few hundred thousand points, the same deformation done with POPs barely registers, even past a million. This week builds up the family’s core vocabulary one piece at a time, then combines them into a fully GPU-instanced, audio-scale-ready scene.
What you’ll learn:
- Understand point attributes and how to create, combine, and visualize them
- Drive shapes and particle systems from a surface’s own normals, and build GPU-based feedback loops
- Render point clouds and connecting lines properly, with distance-based color and width
- Connect nearby points into lines automatically, and drive point behavior from animated textures
- Build a complete GPU-instanced scene using moving, overlapping zones of influence
- Understand why this operator family scales to millions of points with essentially no performance cost
Week 10 — Texture Instancing
Week 10 brings together nearly everything the course has covered so far into one combined technique: texture instancing. The core idea is storing a whole sequence of images as a single stacked texture, then handing any one of them to an instanced shape based on a per-instance ID. This week builds that idea up gradually — first from a video, then by hand from individually generated letters and downloaded images, then inside POPs directly — and finally uses it as the engine behind a full “digital rain” effect that reaches back into nearly every technique from earlier in the course.
What you’ll learn:
- Build a stacked texture array, both from video and from individually generated images
- Generate a full alphabet of textures from typed text and step through them automatically
- Assign a different texture to each instance, driven by a texture’s pixel values or by a POP attribute
- Build a particle-driven “rain” effect with individually randomized fall speeds
- Use a feedback loop to leave trailing history behind falling, instanced shapes
- Finish a render with colored glow for a polished final look
Week 11 — Introduction to GLSL Shaders (with Vanta)
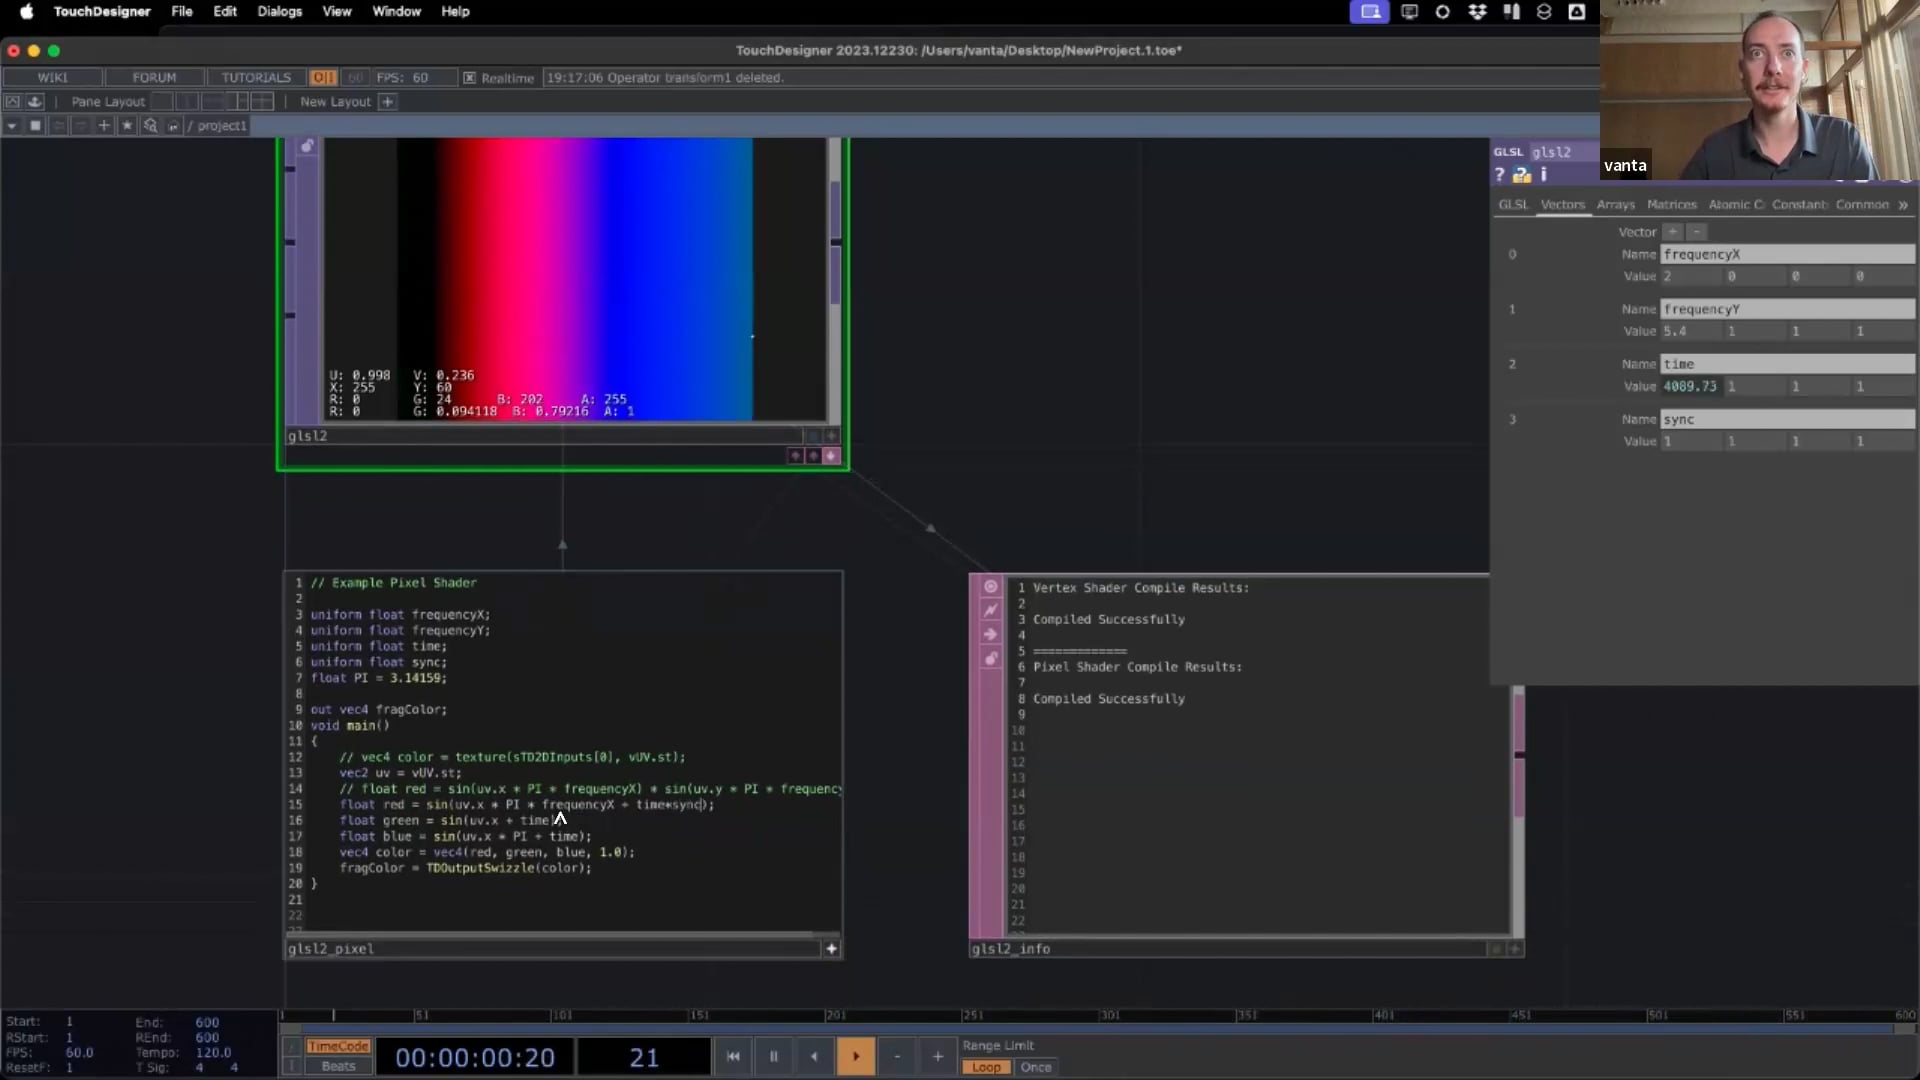
Lesson 11 hands the course over to guest instructor Vanta — a Barcelona-based creative coder and technical artist — for a live introduction to GLSL shaders, the programming language behind modern real-time computer graphics, and the technique that lets TouchDesigner reach past its built-in operators into custom, GPU-written code. This lesson is presented exactly as it was recorded: one continuous ~3-hour live class rather than a series of short, individually-cut clips, so you’ll follow the same session the live cohort did, working from first principles (what a shader actually computes) all the way up to a controllable vignette effect and a VHS-style glitch built entirely from scratch.
What you’ll learn:
- Understand the core idea behind a shader: one piece of code, written once, that runs in parallel for every pixel on the screen at the same time
- Write and read basic GLSL TOP code — vec4 colors, the built-in vuv coordinate, and simple conditional logic — to color pixels differently based on their position
- Pass values from TouchDesigner into a shader with uniforms, and sample an input texture with the GLSL TOP’s built-in texture() function
- Warp and distort where a shader reads its input texture from, using noise and sine functions — the basis of countless glitch and distortion effects
- Build a fully parameterized vignette using distance, step, smoothstep and mix, and a VHS-style glitch effect combining noise with a hard-edged mask
- Know where to keep learning: shadertoy.com, thebookofshaders.com, and when reaching for a shader actually beats staying in nodes
Week 12 — Python Inside TouchDesigner (with Dan Molnar)
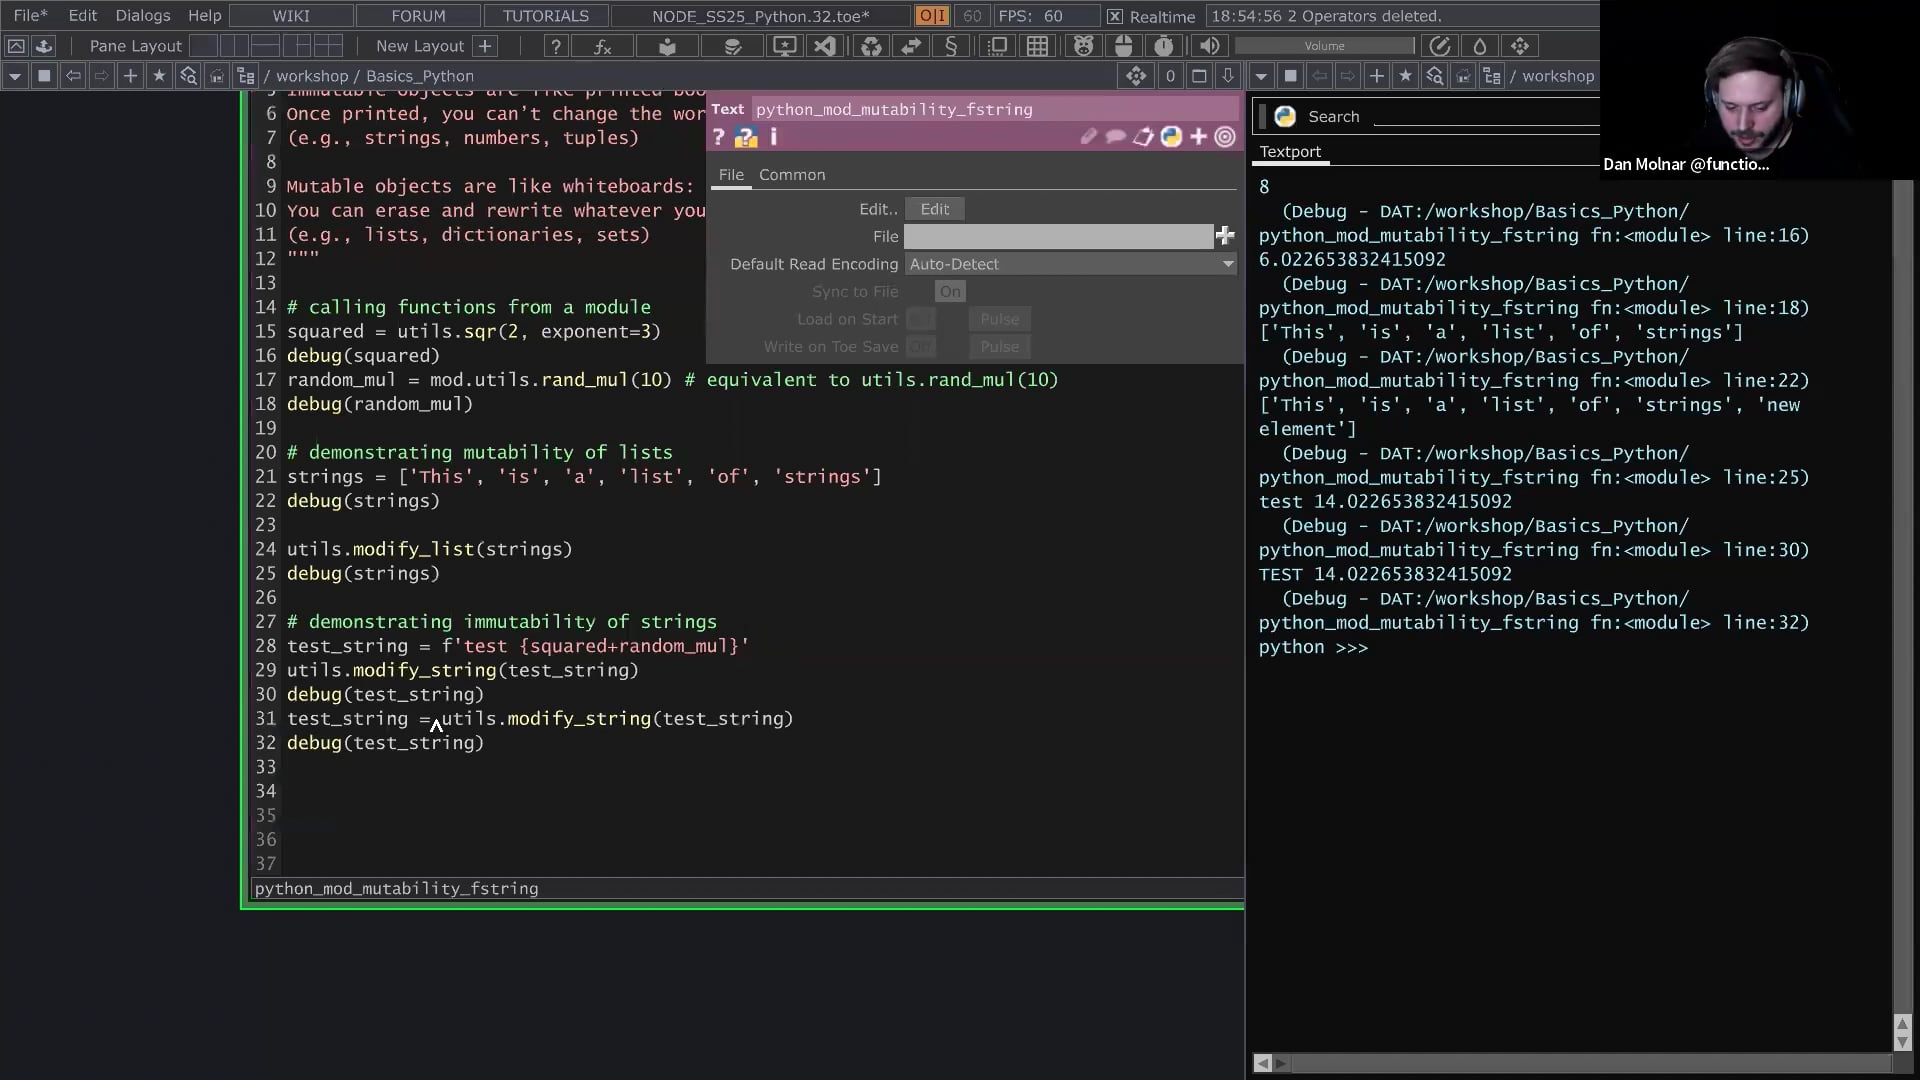
Lesson 12 closes the course with our guest instructor Dan Molnar, AKA “functionstore” — a TouchDesigner freelancer, developer and long-time Python user — for a live introduction to using Python inside TouchDesigner: scripting, custom callbacks, and how Python complements the node-based workflow covered throughout the rest of the course. Like Lesson 11, this is presented exactly as it was recorded: one continuous ~3-hour live class, starting from absolute Python fundamentals (variables, strings, loops) and building all the way up to calling live web APIs, reacting to callbacks, and using an LLM effectively to write TouchDesigner Python for you.
What you’ll learn:
- Understand core Python fundamentals: variables, strings, f-strings, lists, indexing, for loops, if/elif/else, dictionaries, and writing your own functions
- Use the operator class hierarchy and the Python documentation inside TouchDesigner to discover what any operator can do, including debug() versus print() for real debugging
- Automate repetitive operator changes across many operators at once using lists, for loops, and TouchDesigner’s tdu module
- React to change with callbacks: CHOP Execute, DAT Execute, and Parameter Execute, including a full cook-management scene-changer pattern
- Call a live web API from TouchDesigner with a Web Client DAT, parse the JSON response, and avoid freezing the process with preload()
- Use an LLM effectively for TouchDesigner Python: abstracting a problem away from TouchDesigner-specific concepts so the model can solve the underlying math or logic cleanly

