
Getting Started with Unreal and TouchDesigner
Before starting the class, please have the following downloaded and installed to speed up our start in the process:
- Epic Games – https://store.epicgames.com/en-US/download
- TouchDesigner – https://derivative.ca/download
- NDI Unreal SDK – https://ndi.video/for-developers/ndi-unreal-engine-sdk/download
- Touch Engine – https://derivative.ca/UserGuide/TouchEngine_For_Unreal_Engine_Plugin
- VS Community 2022 + game dev tools – https://visualstudio.microsoft.com/downloads
PLEASE NOTE: You will need to create an accounts with these software providers to continue.
When you download the epic games launcher, you must navigate to the unreal tab, select library and install version 5.3.2.
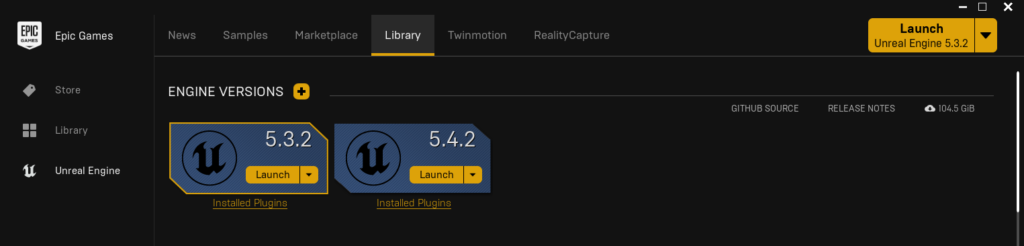
When using tools that are 3rd party many times you will not use the latest release of official software.
It is a good idea to open the unreal project file as well. Your computer will need time to compile the shaders before youre able to begin working in the editor.
Although we will not need to package this project up this lesson. It is common to use unreal closely with Visual Studio Community. Make sure when downloading you chose the game development tools in the workloads tab.
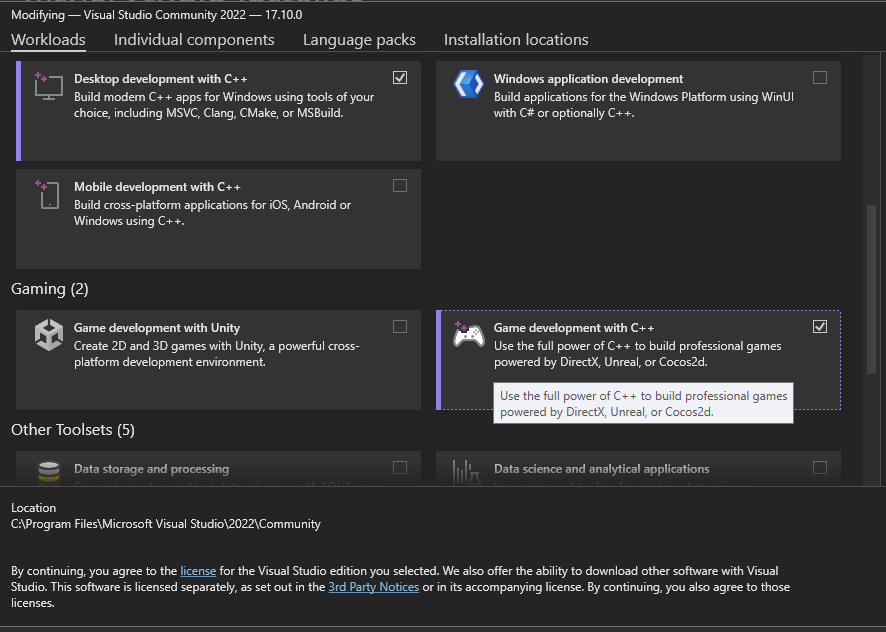
Look here for instructions on how to install to your machine.
https://docs.unrealengine.com/4.27/en-US/ProductionPipelines/DevelopmentSetup/VisualStudioSetup/
Additional Resources:
- https://dev.epicgames.com/community/unreal-engine/learning
- https://dev.epicgames.com/documentation/en-us/unreal-engine/unreal-engine-5-4-documentation
Plugins:
Adding plugins to unreal can be done in two different places. The first is directly installed to the current unreal engine version directory. This will enable the plugin across all projects. When finailzing a project and sharing across the community, I suggest refraining from doing this because whoever opens the project on a different machine will encounter errors when opening. At this point you would have to disable the plugin and all the features you have integrated will be broken. The second location is within the project directly. On the top level you can find a folder called “Plugins”. If you do not see this folder, you can simply create your own and start to add as you need into this folder.
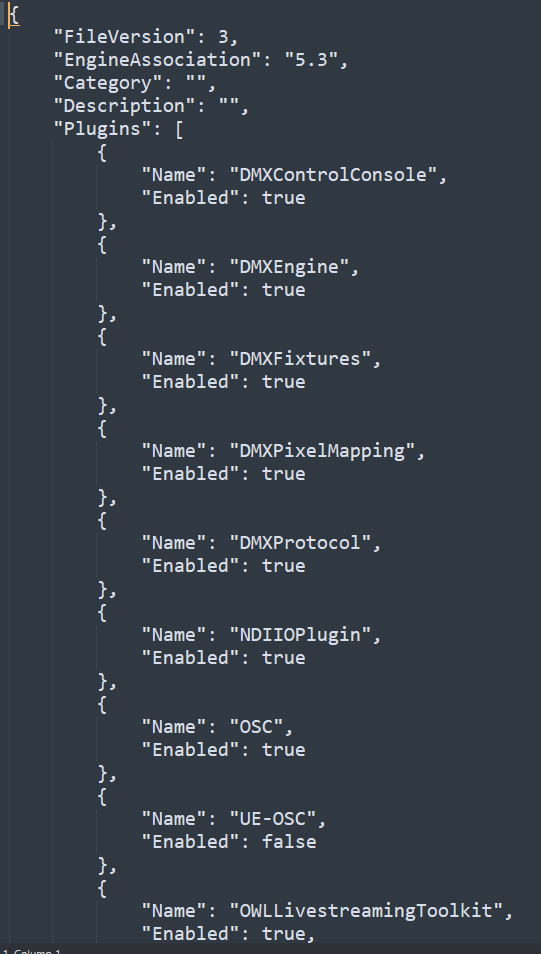
The .uproject file is the source for enabling and disabing plugins before opening the project. Normally you double click this file to open the editor, but if you right click the file, a few options appear. These also go down a more advanced route, so today we will focus on opening the file in a text editor such as sublime text or VS code. When you open, you can see the project name, the engine version you are running, plus all of the plugins enabled in this specific project. Here you have the opportunity to enable/disable plugins before getting into the mess of opening the project.
Plugins also need to be compiled to be compatible with each engine version. If the files cannot be read properly because of a mismatch in the code, you will not be be able to use them. It is very important to understand what versions you are bringing together. If you are more advanced, you will be able to recompile plugins using Visual Studio, but i suggest leaving this to the developers and continue doing art.
To enable plugins once the editor is open, navigate to the top menu. Go to edit -> plugins to start searching for all plugins that may be of some assistance to your needs. All of the third party plugins will be visible here, and you will need to enable them and restart the editor to get the nodes that give you access to the plugins you work with.